Generating Zernikalos Assets
How to generate compatible assets for the Zernikalos engine
This guide will walk you through the process of generating compatible assets for the Zernikalos engine.
Prerequisites
Before starting, ensure you have:
- A 3D model in one of the supported formats
- Nest App installed on your system
Step 1: Prepare Your 3D Model
Your 3D model should be in one of these supported formats:
- glTF 2.0 (Recommended)
- OBJ
- COLLADA (.dae)
- FBX
We recommend using glTF 2.0 as it provides the best compatibility and performance with Zernikalos engine.
Step 2: Import to Nest App
- Open Nest App
- Navigate to the import section
- Select your 3D model file
- Wait for the import process to complete
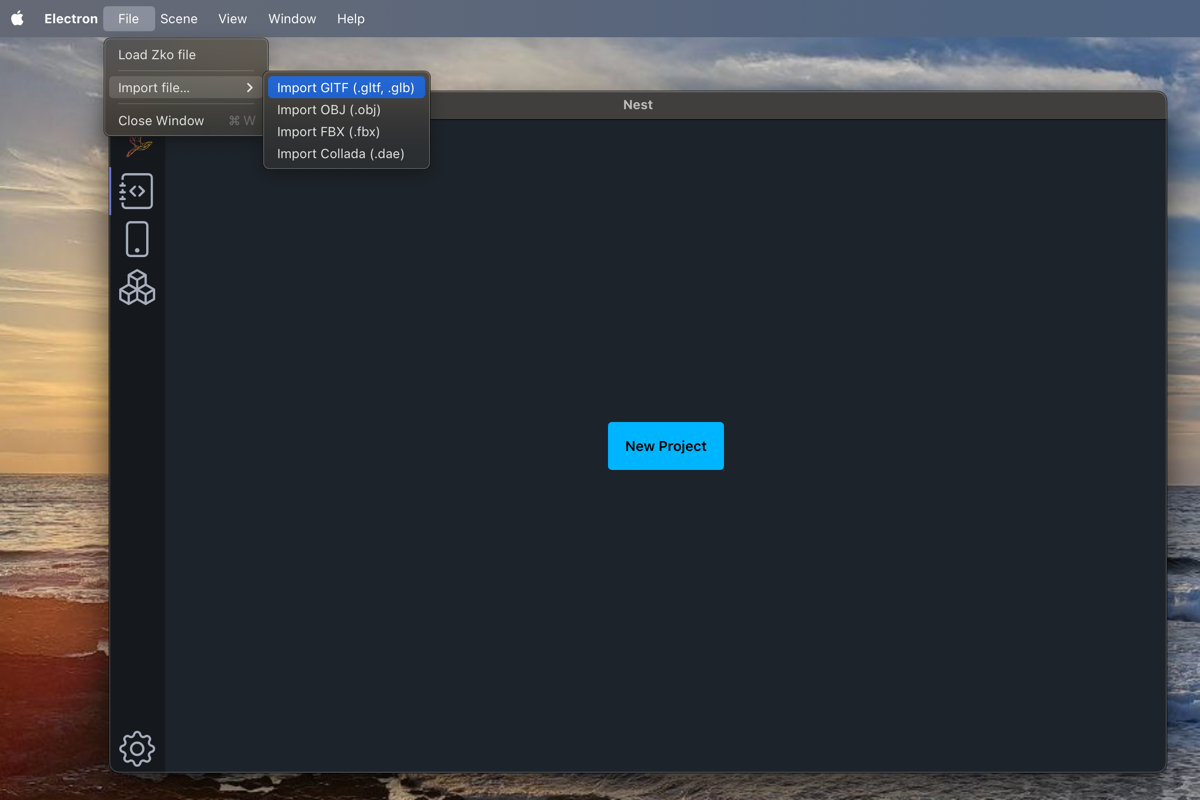
Import Screen
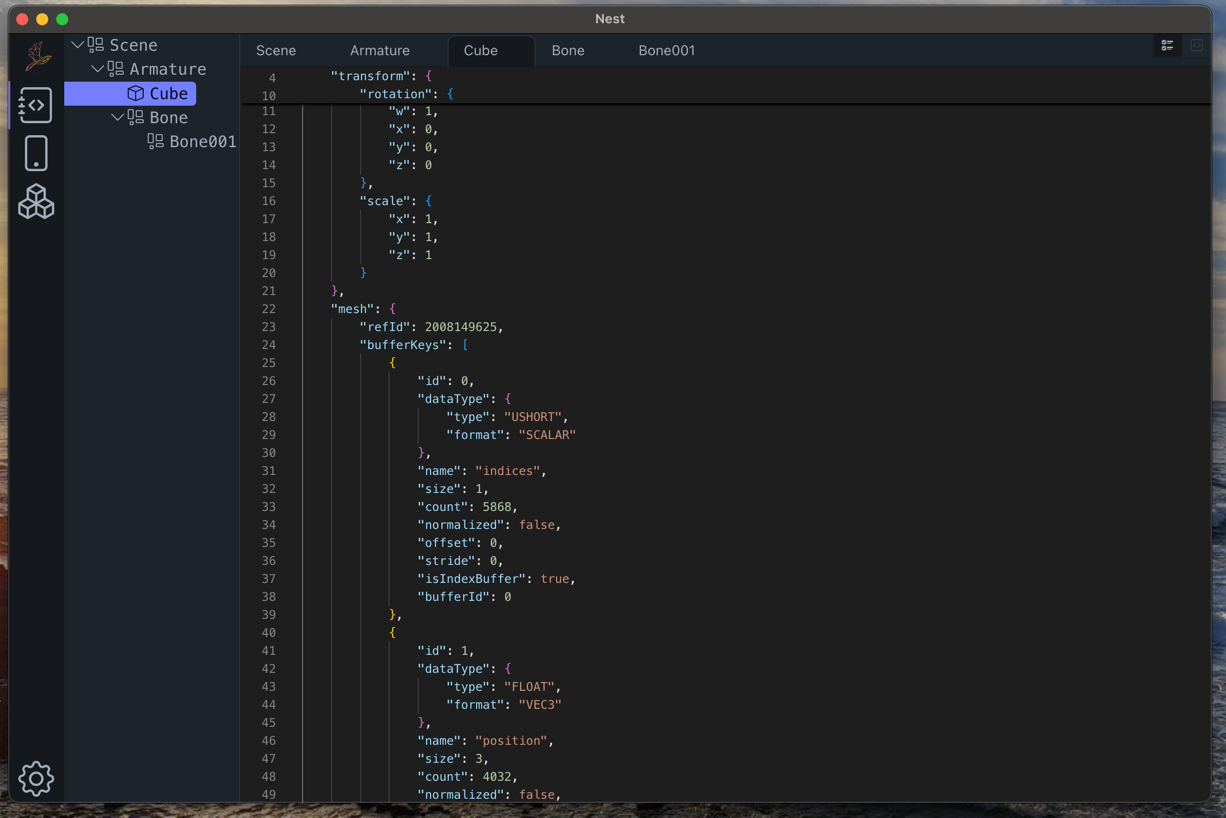
Imported data on editor
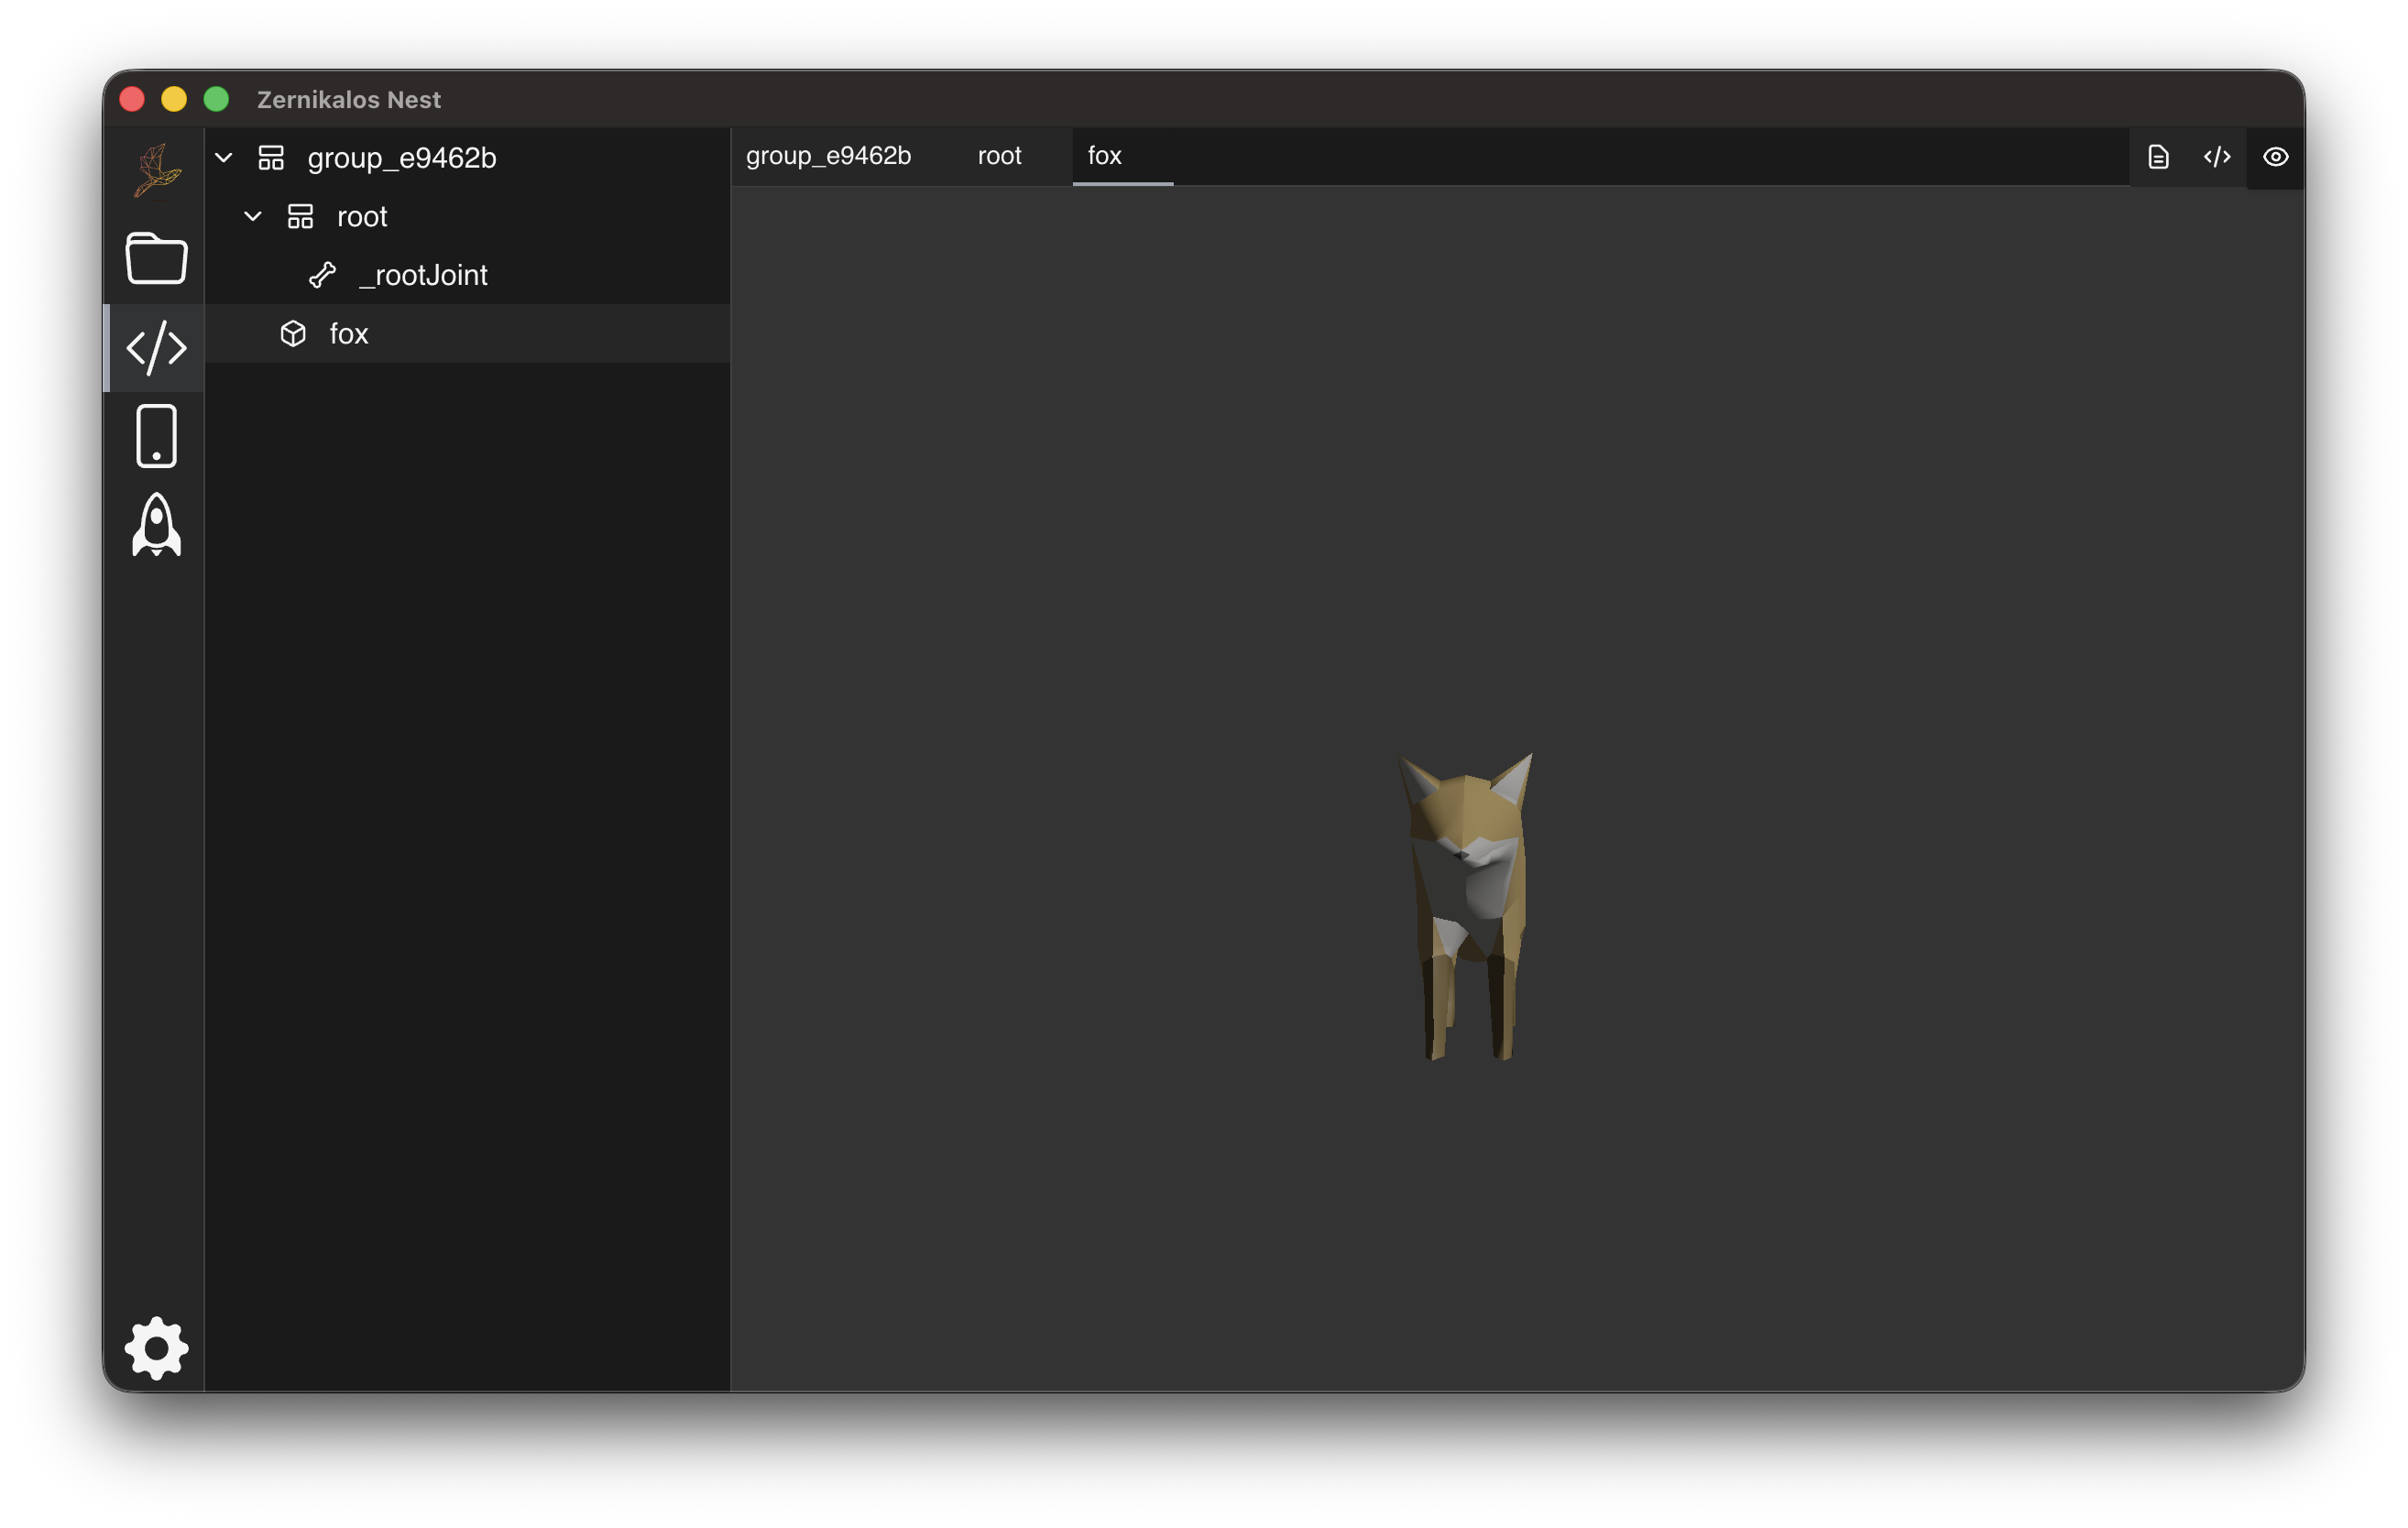
Scene Viewer
Step 3: Generate Bundle
- In Nest App, navigate to the main menu: Scene -> Bundle
- Select your desired output location
- Wait for the bundling process to complete
The bundled scene is the only format compatible to be used with Zernikalos engine.
Next Steps: Where to place the bundle?
Once you have your .zko file, place it in your project's appropriate directory:
Move the file to app/src/main/assets/.
Add the file to your Xcode project resources.
Place the file in your public/ folder.
Now you are ready to Integrate Zernikalos into your application.